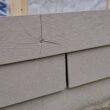



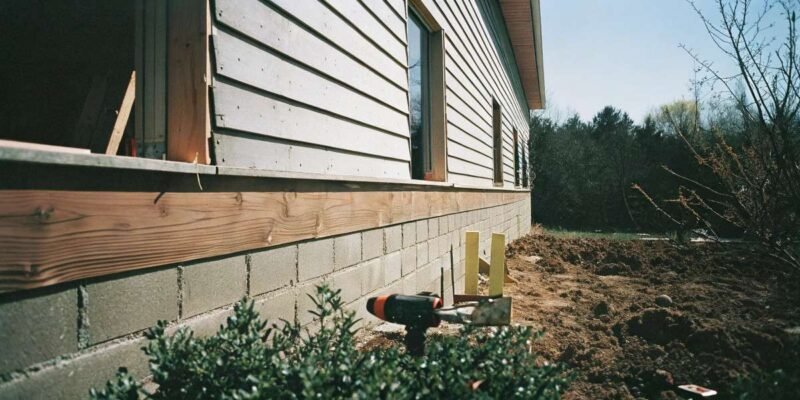
Installing concrete fiber siding is fundamentally the same process as installing any fiber cement siding, with one critical difference in how you think about the material, says Quality Rental Homes and Property Management team. Concrete fiber siding is concrete. It is not wood that happens to contain cement. It is cement that happens to be formed into planks. This distinction matters because it changes how you fasten it, how you cut it, how you attach it to different wall surfaces, and how you repair it if something goes wrong. The material does not flex. It does not bend around corners. It does not forgive a misaligned fastener the way wood does. It cracks. Once cracked, the plank is scrap. There is no repair that restores the structural integrity of a cracked concrete plank.
Concrete fiber siding is a subcategory of fiber cement siding that emphasizes the concrete content. The planks are denser than some wood-look fiber cement products, heavier per square foot, and more brittle at the edges. The installation techniques are the same as for any fiber cement product: blind nailing, one-eighth-inch gaps, flashed butt joints, and elastomeric caulk. The difference is in the fasteners, the cutting tools, and the wall preparation, all of which treat the siding as a concrete product rather than a wood substitute.
Fasteners: What Holds Concrete Fiber Siding to the Wall
Concrete fiber siding requires corrosion-resistant fasteners. Hot-dipped galvanized nails are the standard. Stainless steel nails are required in coastal areas where salt spray accelerates corrosion. Electroplated nails are not acceptable. The thin zinc coating on electroplated nails corrodes within a few years, and the rust bleeds through the paint as orange-brown streaks that cannot be painted over because the rust is coming from underneath the paint.
The fasteners must penetrate at least one and a quarter inches into the structural framing. For attachment to wood studs, sixpenny or eightpenny galvanized siding nails driven with a hammer or pneumatic nailer are the standard. The nail head must be flush with the surface. Do not countersink. Do not leave the nail proud. Flush means the head is exactly even with the plank surface. A countersunk nail dimples the plank, creates a stress concentration, and can crack the concrete around the fastener. A proud nail prevents the next course from seating properly and creates a gap that is visible as a shadow line.
For attachment to masonry walls, concrete fiber siding requires different fasteners. Concrete screws, also called Tapcon screws, are driven into predrilled holes in the concrete block or poured concrete wall. The holes must be drilled with a hammer drill and a carbide-tipped masonry bit. The screw must penetrate at least one inch into the masonry. The screw head must be flush. The predrilled hole in the siding plank must be slightly larger than the screw shank to allow for minor movement between the siding and the wall. Masonry walls move differently than wood framing. The siding must be able to move independently.
For attachment to steel studs, self-tapping screws with a corrosion-resistant coating are the standard. The screw must penetrate the steel stud by at least three threads. The screw head must be flush. Steel studs flex more than wood studs. The siding fasteners must be driven to the correct depth and no deeper. An over-driven screw strips the hole in the steel stud and has no holding power.
Cutting and Drilling Concrete Fiber Siding
Concrete fiber siding is cut with the same tools as fiber cement: a circular saw with a diamond blade, electric shears, or a guillotine cutter. The diamond blade is the standard. The blade must be rated for concrete or fiber cement. A wood-cutting blade will dull within a few cuts and produce a ragged edge. A concrete-cutting diamond blade will cut through the siding cleanly and last for the entire project.
The dust from cutting concrete fiber siding is concrete dust. It contains crystalline silica. The same respiratory protection required for fiber cement is required for concrete fiber: an N95 or P100 respirator. Cut outdoors. Cut on the ground. Keep the wind at your back. The dust is heavier than wood dust and settles more quickly. It is also more abrasive. The dust that settles on the siding planks must be wiped off before painting. Concrete dust on the surface prevents paint adhesion.
Drilling holes in concrete fiber siding for fasteners, for pipes, for vents, and for electrical boxes requires a carbide-tipped masonry bit. A standard wood bit will dull immediately and produce a ragged hole. A carbide bit cuts cleanly. Drill from the face side of the plank to the back to prevent blowout on the visible surface. Support the back of the plank with a piece of scrap wood to prevent the drill bit from blowing out the back of the hole as it exits.
Installing on Masonry and Concrete Walls
Concrete fiber siding installed on a masonry wall requires furring strips. The siding cannot be attached directly to concrete block or poured concrete for two reasons: the wall is never perfectly flat, and the siding needs an air gap behind it to drain and dry. Install one-by-three or one-by-four pressure-treated furring strips vertically over the masonry wall, spaced 16 inches on center, fastened with concrete screws or powder-actuated fasteners. The furring strips create a flat nailing surface and the required air gap. Install house wrap or building paper over the furring strips. The house wrap is the water-resistive barrier. The air gap behind the siding allows any water that gets behind the siding to drain out the bottom.
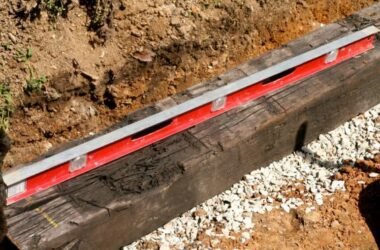
The furring strips must be shimmed to create a flat plane. Masonry walls are never perfectly flat. Use plastic shims between the furring strip and the masonry to adjust for low spots. Check the plane of the furring strips with a long straightedge. A dip of an eighth of an inch over four feet will be visible in the finished siding as a wave. The furring strips are the framing for the siding. They must be as flat and as straight as the studs in a wood-framed wall.
Frequently Asked Questions
What is the difference between concrete fiber siding and fiber cement siding?
The terms are used interchangeably in most contexts. Concrete fiber siding is fiber cement siding. The difference is marketing, not material. Some manufacturers use the term “concrete fiber” to emphasize the concrete content and the masonry character of the product. The installation is identical. The fasteners, gaps, flashing, and painting are the same for both.
Can I use regular wood screws to attach concrete fiber siding to masonry?
No. Use concrete screws, Tapcon or similar, with a hammer drill and carbide-tipped masonry bit. Wood screws will not hold in concrete. The hole must be predrilled. The screw must penetrate at least one inch into the masonry. The screw head must be flush with the siding surface.
What happens if a concrete fiber siding plank cracks during installation?
Replace it. A cracked concrete fiber plank has lost its structural integrity. The crack will widen over time with thermal cycling and moisture absorption. Water will enter the crack, freeze, and expand, making the crack larger. The plank cannot be repaired with caulk or adhesive in a way that restores its strength. A cracked plank is scrap. Remove it and install a new one.
The Bottom Line
Concrete fiber siding is concrete formed into planks. It installs like fiber cement with the same gaps, flashing, and painting. The fasteners are galvanized or stainless for wood framing, concrete screws for masonry, and self-tapping screws for steel. The cutting produces concrete dust that requires respiratory protection. The material does not flex and does not forgive a misaligned fastener. Treat it as concrete and it will perform like concrete: hard, durable, and permanent. Treat it as wood and it will crack.