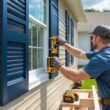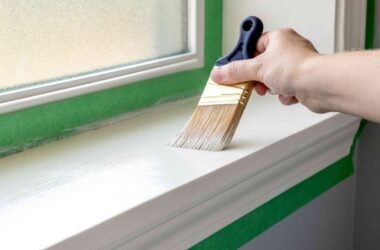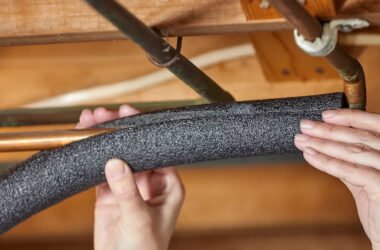




Installing replacement casement windows follows the same insert window method used for other window types, with specific attention to the crank mechanism and the hinge alignment, notes Lakewood property management. A casement window must be installed perfectly square and level for the sash to open, close, and seal correctly. A double-hung window that is slightly out of square will still operate because the sashes slide in tracks that can accommodate minor misalignment. A casement window that is out of square will bind, the crank will be hard to turn, and the sash will not compress the weatherstripping evenly. The seal will leak air at the corners. The squareness of the installation is more critical for casement windows than for any other window type.
The previous guide on casement windows covered repair options: replacing the hardware, replacing the sash, or replacing the entire window. This guide covers the installation process for a replacement casement window, either as an insert unit that fits into the existing frame or as a full-frame unit that replaces the frame and flashing. The installation sequence is the same as for any window replacement, with additional checks at the end to verify that the crank operates smoothly, the hinges open fully, and the sash seals evenly around all four sides.
ENERGY STAR advises that proper window installation is as important as the window’s energy rating. An improperly installed casement window that does not seal tightly will waste more energy than a properly installed standard window, regardless of the energy label on the glass.
Step 1: Measure and Order the Replacement Window
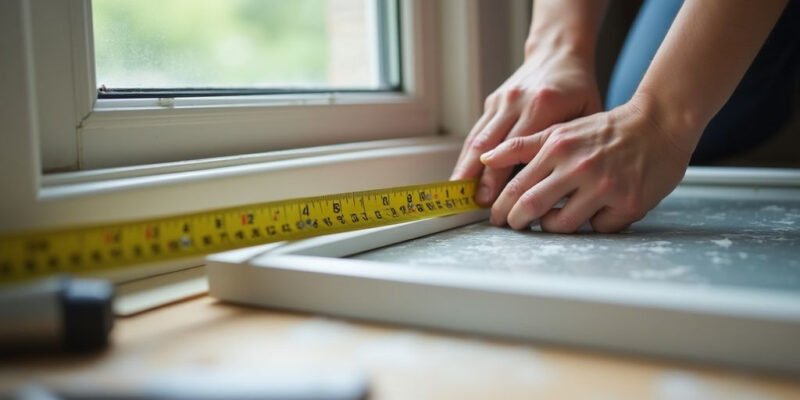
For an insert casement window, measure the existing frame. Remove the interior trim and casing to expose the full frame. Measure the width from the inside of the side jamb to the inside of the opposite side jamb at the top, middle, and bottom. Measure the height from the sill to the underside of the head jamb at the left, middle, and right. Use the smallest measurement in each direction. The replacement window will be manufactured slightly smaller to fit inside the opening.
For a casement window, also measure the depth of the frame from the interior face to the exterior face. The depth is critical because the crank mechanism and the hinges require a specific frame depth to operate. If the replacement frame is thicker or thinner than the original, the crank handle may not have enough clearance to fold down, or the sash may not close fully against the weatherstripping. Match the frame depth as closely as possible.
Specify the hinge side when ordering. Casement windows are hinged on the left or the right as viewed from the exterior. The hinge side determines which direction the window opens. A window hinged on the left opens to the left. A window hinged on the right opens to the right. The hinge side is not reversible after manufacture. Order the correct hinge side.
Step 2: Remove the Old Casement Window
Remove the interior trim, casing, and stool to expose the window frame and the gap between the frame and the rough opening. Remove the sash from the old frame. Open the window fully. Disconnect the crank arm from the sash bracket. Remove the hinge screws from the sash. Lift the sash out of the opening.
For an insert installation, leave the old frame in place. Remove the hinges and crank operator from the old frame. Fill the screw holes with wood filler or epoxy if the new hardware will use different mounting locations. Clean the frame. The old frame is now an empty box ready to receive the new window.
For a full-frame installation, remove the old frame entirely. Cut the nailing fins or flanges with a reciprocating saw. Pry the frame out of the rough opening. Inspect the rough opening for rot. Repair as needed. Install a sill pan flashing on the rough opening sill.
Step 3: Install the New Window and Adjust for Operation
For an insert installation, slide the new casement unit into the old frame. The unit includes the sash pre-hung in the frame with the crank and hinges installed. Center the unit in the old frame. Shim under the sill and at the sides until the frame is level and plumb. Check that the diagonal measurements, corner to corner, are equal. Equal diagonals mean the frame is square. An out-of-square frame will cause the sash to bind on the hinges.
Fasten the new frame to the old frame through the side jambs with screws. The screws must penetrate into the old frame and ideally into the rough opening framing. Do not overtighten. Check the diagonal measurements again after fastening. The frame must remain square after the screws are tightened.
Open and close the sash. The crank should turn smoothly. The sash should open fully without scraping the frame. The sash should close fully and compress the weatherstripping evenly on all four sides. If the sash binds at the top or bottom, the frame is racked, meaning it is twisted out of plane. Adjust the shims to remove the racking. If the sash does not seal evenly, adjust the hinge screws. Most casement hinges have an adjustment screw that moves the sash in or out relative to the frame at the hinge points. Adjust each hinge until the sash seals evenly.
For a full-frame installation, set the new window into the rough opening. Shim level, plumb, and square. Fasten through the nailing flange or mounting clips. Flash the opening with flashing tape. Insulate the gap with low-expansion foam. Trim the interior with casing and stool.
Frequently Asked Questions
How do I know if I need a left-hinged or right-hinged casement window?
Stand outside the house facing the window. If the hinges are on the left side of the window, it is left-hinged. The window opens to the right. If the hinges are on the right side, it is right-hinged and opens to the left. The hinge side is specified as viewed from the exterior. Order the same hinge side as the existing window unless you have a specific reason to change it.
What if the crank handle hits the wall or trim when I open the window?
The crank handle requires clearance to rotate fully. If the window is installed too close to an adjacent wall, a corner, or another window, the handle may strike the obstruction. Casement windows are available with fold-down handles that reduce the clearance requirement. If the clearance problem cannot be solved with a fold-down handle, the hinge side can be changed, ordering a window hinged on the opposite side, but this changes the opening direction and may conflict with exterior obstructions. Plan the hinge side and clearance before ordering.
How do I test that a casement window is sealing properly?
Close and lock the window. Insert a dollar bill between the sash and the weatherstripping. Close the window on the bill. Pull the bill out. You should feel resistance. If the bill pulls out easily, the weatherstripping is not compressing at that point. Test at multiple points around the perimeter. If the bill pulls out easily at one corner but not at others, adjust the hinge at that corner to move the sash closer to the frame.
The Bottom Line
A replacement casement window is installed square in the opening, shimmed level and plumb, and adjusted until the sash opens, closes, and seals correctly. The squareness of the frame is more critical than for other window types. The crank mechanism and the hinges require the sash to operate in a precise plane. A casement window that is installed correctly will open with one finger, close tightly, and seal against the weatherstripping all the way around. The dollar bill test confirms the seal. The crank test confirms the operation.