



Learning how to replace a wax toilet seal is one of those DIY plumbing skills that every homeowner should have says New Jersey Property Management. A failing wax toilet seal shows itself through puddles around the toilet base, a musty smell that gets worse after flushing, or a toilet that rocks slightly when you sit down. The fix takes about an hour, costs less than $20 in parts, and requires no special plumbing skills. Here is exactly how to replace a wax toilet seal without calling a plumber. Per Wikipedia, the wax ring creates the critical seal between the toilet and the floor flange.
Is It Really the Wax Ring? Diagnosis Before You Start
Not every puddle around the toilet base means the wax ring is shot. Sound familiar? Condensation on the tank in humid weather, a loose supply line connection, or a cracked toilet base can all produce the same symptom. Run through this checklist before pulling the toilet.
| Symptom | Likely Cause | Next Step |
|---|---|---|
| Water puddled at the base after flushing | Wax ring failure | Proceed with replacement |
| Sewer smell near the toilet, worse after flushing | Wax ring failure (gas seal broken) | Proceed with replacement |
| Toilet rocks when sitting down | Loose flange bolts OR wax ring compressed unevenly | Tighten bolts first; if rocking persists, replace ring |
| Water on the floor but no smell, no rocking | Supply line leak or tank condensation | Check supply line nut; wipe tank for condensation |
| Ceiling stain below the bathroom | Wax ring failure with subfloor damage possible | Replace ring and inspect subfloor |
“Lifted the toilet, smelled the rot, and saw nothing but black mush underneath. What should have been an hour job turned into a weekend of cutting subfloor.”
— r/HomeImprovement, 2 upvotes, 12 comments (2023), source
That’s the risk of ignoring a slow leak. If you catch it early, the replacement takes one trip to the hardware store and a Saturday morning.
What You’ll Need — Tools & Materials
Most of these items cost under $10 each. Buy them all before you start so you are not stuck mid-project with a toilet sitting on the bathroom floor.
| Item | Purpose | Estimated Cost |
|---|---|---|
| Wax ring (standard or reinforced) | Primary seal between toilet and flange | $5 – $8 |
| Wax-free rubber seal (optional alternative) | Alternative to wax — reusable, less messy | $12 – $18 |
| Adjustable wrench or socket set (½ inch) | Removing closet bolt nuts | Already own, or $10 |
| Flathead screwdriver | Prying off bolt caps, scraping old wax | Already own |
| Putty knife or plastic scraper | Scraping old wax from flange and toilet base | $3 – $5 |
| Bucket and towels | Catching water from tank and bowl | Already own |
| Shop towel or rag | Drying surfaces before new seal installation | Already own |
| Toilet flange repair kit (only if needed) | Fixing a broken or corroded flange | $10 – $15 |
| New closet bolts and caps | Bolts securing the toilet to the flange | $3 – $5 |
A common mistake first-timers make is buying only the wax ring and assuming everything else can be reused. In practice, those old closet bolts are often corroded enough that the nut strips as soon as you try to tighten it back down. Spending $3 on new bolts now saves a trip to the store mid-project.
Step-by-Step Replacement Guide
Replacing a wax toilet seal follows a straightforward process: shut off the water, remove the toilet, scrape off the old wax, install the new seal, and bolt everything back down. The whole job takes 45 minutes to an hour. Follow these steps in order to avoid leaks the first time.
Step 1: Shut Off Water & Drain the Toilet
Turn the shut-off valve behind the toilet clockwise until it stops. Flush the toilet and hold the handle down to drain as much water as possible from the tank. Use a small cup or sponge to remove the remaining water from the tank and bowl — about a cup of water stays in the bowl trap no matter how many times you flush. Soak it up with a sponge and wring into your bucket.
Step 2: Disconnect & Remove the Toilet
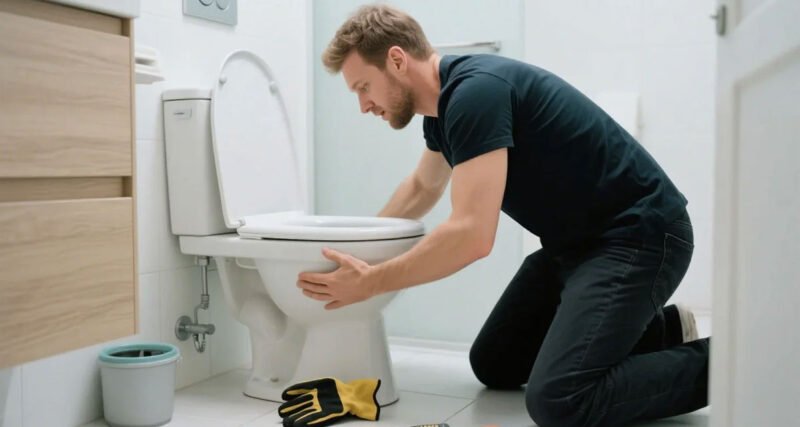
Disconnect the water supply line from the bottom of the tank using your wrench. Pry off the plastic bolt caps on each side of the toilet base with a flathead screwdriver. Remove the nuts from the closet bolts — these can be stubborn.
“Used concrete drill bits, a lot of elbow grease, and an electric cordless drill to drill into the concrete floor.”
— r/selfreliance, 436 upvotes, 26 comments (2022), source
A penetrating oil like WD-40 helps if the nuts are rusted. Rock the toilet gently from side to side to break the wax seal, then lift it straight up. Set it on its side on old towels in the tub or outside.
Step 3: Remove Old Wax & Inspect the Flange
Scrape the old wax off the toilet flange (the plastic or metal ring bolted to the floor) using your putty knife. The wax is sticky and comes off in chunks, this is the messiest part of the job. Work carefully around the flange so you do not gouge the plastic. Stuff a rag into the drain opening to prevent debris or tools from falling into the sewer line. Inspect the flange for cracks, corrosion, or damage. If the flange is broken, indicated by cracks radiating from the bolt slots or a flange sitting below the finished floor level, pick up a flange repair kit before proceeding.
Step 4: Clean the Surface Thoroughly
After the big chunks are gone, use a rag with mineral spirits or rubbing alcohol to dissolve the remaining wax film on the flange surface. The new wax ring needs a clean, dry surface to form a proper seal. Any leftover wax creates gaps that will leak. Wipe down the toilet base bottom as well, old wax, grime, and mineral deposits prevent the new ring from seating evenly. Let both surfaces dry completely. A hair dryer on low heat speeds this up if you are impatient.
Step 5: Install the New Wax Ring
Place the new wax ring onto the flange, centered over the opening, with the wax side facing up. Push it down firmly so it seats against the flange. Some plumbers prefer to attach the wax ring to the toilet base instead, then lower the toilet onto the flange, either method works as long as the ring compresses evenly. A wax-free rubber seal (like Fluidmaster’s Better Than Wax) is a cleaner alternative at this step: it snaps onto the flange, requires no compression, and stays reusable if you ever pull the toilet again.
Step 6: Reinstall the Toilet & Bolt Down
Lower the toilet straight down onto the flange, aligning the mounting holes with the closet bolts. Your body weight pressing down compresses the wax ring to form the seal. Do not rock or shift the toilet once it touches the wax, that breaks the seal and you have to start over. Install the washers and nuts onto the closet bolts and tighten them alternately (a few turns on the left, a few on the right) until the toilet feels solid. Overtightening cracks the porcelain base, stop when the toilet does not rock under pressure.
Step 7: Turn Water On & Test for Leaks
Reconnect the supply line, turn the water on slowly, and let the tank fill. Flush three or four times, checking around the base for water each time. Place a dry paper towel around the base and wait 15 minutes, any moisture on the towel means the seal is not right and the toilet needs to come back up. A small amount of clean water may appear from condensation, but brown or smelly water means the seal is leaking.
Wax Ring vs Wax-Free Seal, Which Should You Use?
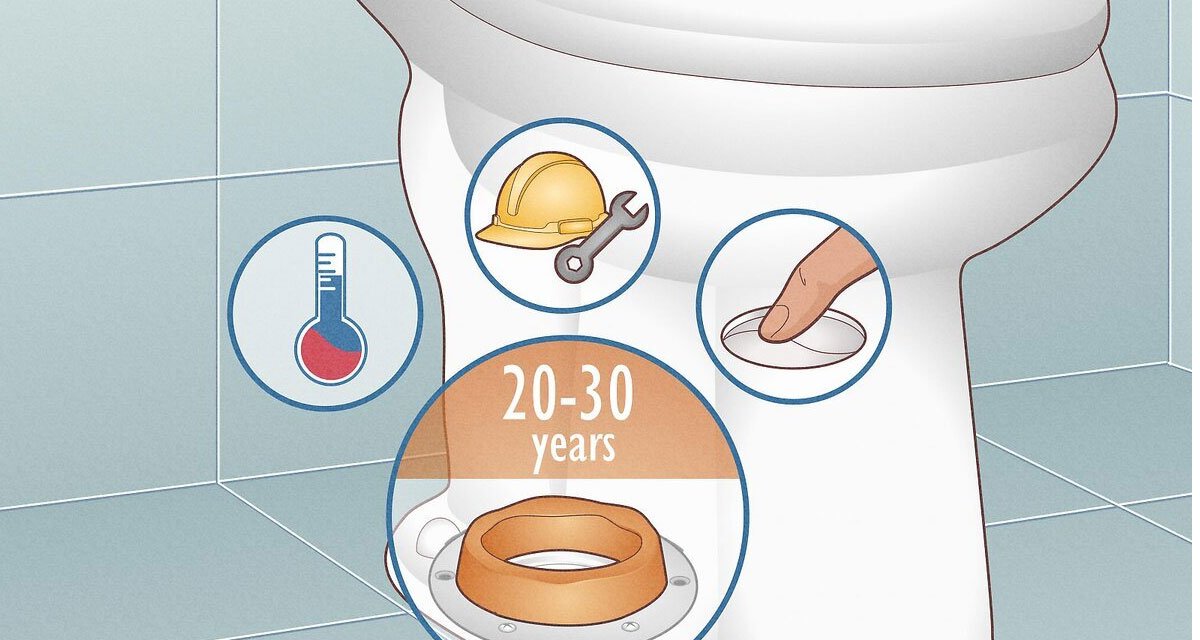
The traditional wax ring has been the standard for decades. Wax-free rubber seals (branded as Fluidmaster Better Than Wax or Fernco Wax-Free) are newer alternatives that solve the biggest drawback of wax: the mess. Here is how they compare.
| Factor | Wax Ring | Wax-Free Rubber Seal |
|---|---|---|
| Cost | $5 – $8 | $12 – $18 |
| Installation difficulty | Easy, but messy | Easy, no mess |
| Reusable if toilet is pulled | No, must replace | Yes, re-seals when reinstalled |
| Seal quality | Excellent when properly compressed | Excellent, less dependent on compression |
| Works with offset flanges | Yes, wax fills gaps | Not always, check compatibility |
| Longevity | 20–30 years | 10–20 years (rubber can degrade) |
| Mess level | Sticky wax on hands, floor, tools | None |
For a first-timer replacing their first wax ring, a wax-free seal removes most of the frustration. It costs a few dollars more but eliminates the sticky mess and gives you a re-do option if the toilet does not sit right the first time. For a permanent installation in a home you plan to stay in, a quality wax ring from a brand like Oatey or Fernco is time-tested and reliable.
Troubleshooting Common Problems
Even when you follow every step carefully, things can go wrong. A wobbling toilet, a persistent leak, a cracked flange, or rotten subfloor below the toilet are the most common complications. Here is how to diagnose and fix each one without calling a plumber.
Toilet Wobbles After Installation
Tighten the closet bolts a quarter turn at a time, alternating sides, until the wobble stops. If the toilet still rocks, the flange may be sitting below the finished floor level, a flange spacer or extra-thick wax ring (sometimes called a “jumbo” wax ring with a funnel) closes that gap.
Leak Persists After Replacement
A leak that shows up only after several flushes usually means the wax ring did not compress evenly. The fix is pulling the toilet, cleaning off the wax, and starting fresh with a new ring. Reusing the same ring after lifting the toilet guarantees another leak.
Flange Is Broken or Too Low
A plastic flange that cracked during bolt tightening needs a repair kit, a metal ring that slips over the existing flange and provides fresh bolt slots. A flange sitting more than a quarter inch below the finished floor needs a flange extender. Per the International Residential Code, the toilet flange must be installed on top of the finished floor, not below it.
Subfloor Damage Found
If the wood subfloor around the flange is soft or rotted, the flange has no solid base to anchor to. This was the single most common complication reported on Reddit.
“I went to replace the wax seal and discovered the subfloor was rotten.”
— r/HomeImprovement, 2 upvotes, 12 comments (2023), source
The repair involves cutting out the damaged section, sistering in new plywood, and remounting the flange on solid material. A temporary fix, sealing the flange to the remaining good subfloor with construction adhesive, gets you through a weekend but is not a long-term solution.
Cost Breakdown: DIY vs Hiring a Plumber
| Item | DIY Cost | Plumber Cost |
|---|---|---|
| Wax ring | $5 – $8 | Included in service fee |
| New closet bolts (if needed) | $3 – $5 | |
| Flange repair kit (if needed) | $10 – $15 | |
| Total parts (typical) | $8 – $13 | — |
| Total parts (worst case with flange repair) | $18 – $28 | — |
| Service call + labor | $0 (you) | $150 – $350 |
| Total | $8 – $28 | $150 – $378 |
At those numbers, replacing a wax ring yourself pays for itself in time saved from a single phone call. Even if you buy every tool new, the total stays under $50, less than the minimum fee for a plumber to show up at your door.
Frequently Asked Questions
How often should a wax toilet seal be replaced?
A wax ring has no scheduled replacement interval. Replace it when you notice water at the base, sewer smells, or a rocking toilet, or any time the toilet is pulled up for other work. Under normal conditions, a wax ring lasts 20 to 30 years.
Which is better, wax ring or wax-free seal?
Wax rings are cheaper ($5-$8) and last 20-30 years but are messy to replace. Wax-free rubber seals cost more ($12-$18) but are reusable and mess-free. Choose wax for permanent installations and wax-free if you might pull the toilet again.
Can you replace a wax ring without removing the toilet?
No. The wax ring sits between the toilet base and the floor flange, compressed by the weight of the toilet. There is no way to access or replace it without lifting the toilet off the flange.
Can I use a wax-free seal instead of wax?
Yes. Wax-free rubber seals like Fluidmaster Better Than Wax or Fernco Wax-Free fit standard toilet flanges and eliminate the sticky mess. They cost more ($12–$18 vs $5–$8) and are reusable if you pull the toilet again. Check compatibility with your flange type, some offset or recessed flanges require wax because it fills irregular gaps that rubber cannot.
Why does my toilet still leak after replacing the wax ring?
The most common cause is an uneven wax ring compression, the toilet was rocked or shifted after it touched the wax. Other causes include a cracked flange, a flange sitting too low, or the new ring being the wrong thickness. Pull the toilet, inspect the flange, and try again with a fresh ring, taking care to lower the toilet straight down without shifting.
Can you use too much wax on a toilet seal?
You cannot over-apply a standard wax ring because it is pre-formed to the correct thickness. Stacking two wax rings (sometimes suggested for low flanges) creates a gap that can leak, use a jumbo wax ring with an integrated funnel or a flange extender instead of doubling up.
Is replacing a toilet wax ring a DIY job or should I call a plumber?
It is firmly in the DIY category for anyone comfortable using a wrench and lifting 50–80 pounds. The steps are straightforward, the parts are cheap, and plenty of detailed guides exist. Call a plumber if the toilet is caulked to the floor with silicone, the flange appears damaged, or the subfloor feels soft when you probe it with a screwdriver.
How much does it cost to replace a wax ring?
DIY: $8–$28 for parts (wax ring, possibly new bolts and a flange repair kit). Hiring a plumber: $150–$350 including the service call and labor. The repair itself takes 45 minutes to an hour once you have the tools in hand.
Final Thoughts
Learning to replace a wax toilet seal is one of those home repairs that looks intimidating from the outside and turns out to be surprisingly straightforward once you start. The hardest part is the first lift, a 50-pound porcelain lump that feels heavier than it is. After that it is scrape, clean, set, and test.
What gets people is not the mechanics. It is the moment they lift the toilet and see rot, or stripped bolts, or a gap they did not expect. That is why the real skill is not installing the wax ring. It is knowing what to look for before you start, and having a backup plan, new bolts, a flange repair kit, a wax-free alternative, ready in the bag.